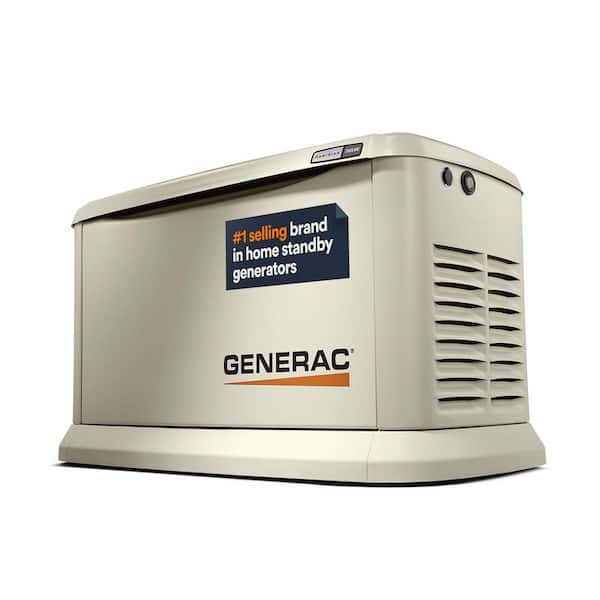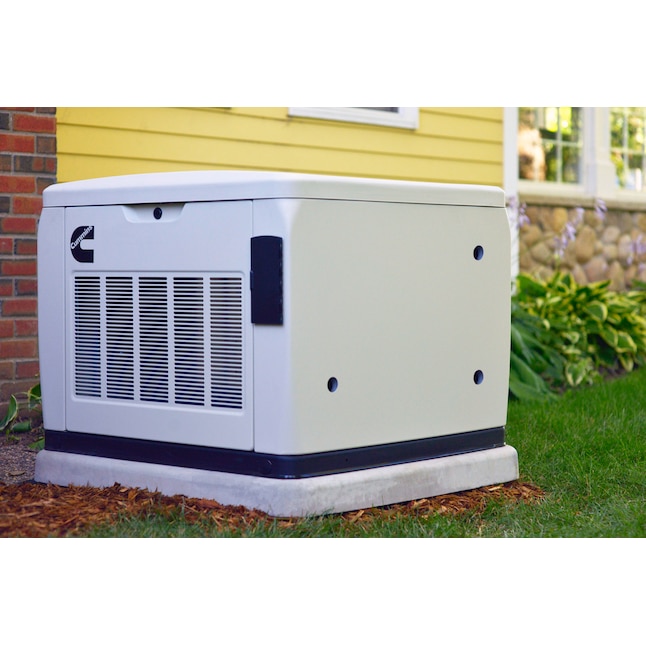

Two decisions determine whether you're happy with a standby generator ten years from now: what size you bought and who installed it. Everything else — brand, color, app — matters less than either.
This guide covers both, in the order the project actually happens.
The sizing method that actually works
Forget square footage. A 5,000 sq ft home with gas heat, gas water heating and two efficient AC units has lower peak demand than a 2,800 sq ft all-electric home with a heat pump and an electric range. Square footage is a proxy for nothing useful.
Here's the method:
Step 1 — List what must run
Write down what you genuinely need during an outage. Be honest; this is where people either over- or under-buy.
Almost always: refrigerator, freezer, furnace blower or heat pump air handler, well pump if you have one, sump pump if you have one, some lights, internet and phone charging, a few outlets.
Often: air conditioning, water heater, range or cooktop, garage door, home office.
Sometimes non-negotiable: medical equipment, a second refrigerator, aquarium or livestock systems, a septic pump.
Step 2 — Get running watts for each
Nameplate labels, manuals, or a reliable table. Add them up. This is your continuous load.
Step 3 — Find the largest starting surge
This is the step people skip, and it's the one that sizes the generator.
Motors — compressors, pumps, fans — draw 2–3× their running watts for a second or two at startup. Some well pumps hit higher. Your generator has to survive that instantaneous demand without dropping voltage enough to trip.
Find the single largest starting load (usually the AC compressor or the well pump), and use that surge, not the sum of all surges. Two motors starting at exactly the same instant is uncommon and is what load management exists to prevent.
Step 4 — Add the surge to the running total
Running total + largest single starting surge = your peak demand.
Step 5 — Add headroom, then apply load management
Add 20–25% headroom for future loads and so the unit isn't pinned at capacity on the worst afternoon. Then look at whether load management lets you come back down a size — which it usually does.
Use the sizing calculator for a starting figure, and require your installer to do the real calculation. A rough guide:
| Situation | Typical size |
|---|---|
| Essential circuits only, small home | 7–11 kW |
| Small-to-medium home, one AC | 12–17 kW |
| Average home, whole-home coverage | 18–22 kW |
| Large home, multiple AC units | 24–26 kW |
| Very large or multi-building property | 30 kW+ (liquid-cooled) |
Why load management beats buying kilowatts
This is the most valuable thing in this guide.
A smart management module is a relay that watches generator output and temporarily sheds a designated large load when demand approaches capacity, restoring it when there's room. Generac calls them Smart Management Modules, Kohler has load shed, Briggs has Symphony II, Champion has demand control.
Put modules on your two largest loads — typically the air conditioner and the electric water heater — and the generator never sees them starting simultaneously with everything else.
The economics are lopsided. Modules run a few hundred dollars each installed. Stepping up from 22 kW to 32 kW costs thousands, and the larger machine also costs more to install, more to fuel and (on a liquid-cooled unit) more to service.
I have replaced a great many 30+ kW quotes with a 22 kW unit and $600 of modules, and the customers were better served. If an installer hasn't discussed load management with you, that's a signal.
More on this: sizing myths debunked.
Derating: elevation, temperature and fuel
A generator's nameplate rating assumes standard conditions. Three things reduce real output:
Elevation — roughly 3% less per 1,000 feet. At 5,000 feet, a 22 kW unit delivers closer to 19 kW. This is significant in the mountain west and routinely ignored.
Ambient temperature — output falls above roughly 77°F. On the 100°F afternoon when every AC in the house is running, you have less capacity than the label implies. See preventing overheating.
Fuel — natural gas produces 5–10% less than propane from the same engine. Manufacturers publish both ratings. Size from the rating for the fuel you'll use.
These stack. A 22 kW unit at 4,000 feet on natural gas on a hot day is meaningfully under 20 kW. Ask your installer to show the derated figure they sized against.
Whole-home or essential circuits
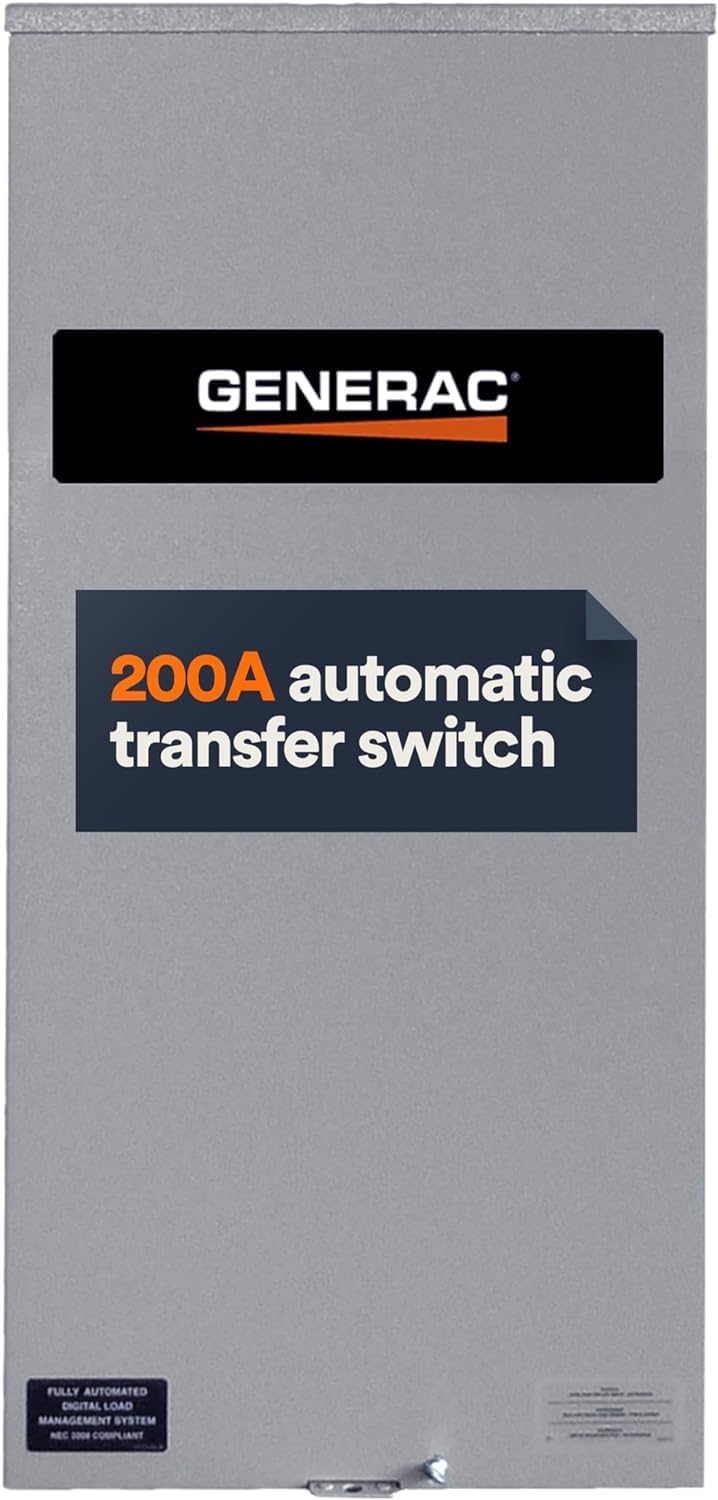
Whole-home uses a service-rated automatic transfer switch handling your entire electrical service. Everything is backed up; load management sequences the big items. Simpler to live with, more expensive, and what most people picture.
Essential circuits uses a load-center transfer switch — a subpanel with 8–16 chosen circuits. Cheaper, allows a smaller generator, but you decide the list in advance and everything else stays dark.
Middle ground: whole-home switch with aggressive load management, which gets you full coverage on a smaller unit.
Watch for this in quotes. A quote with a 10-circuit switch and a quote with a 200A service-rated switch are not comparable, and the difference is well over a thousand dollars. It's the most common apples-to-oranges discrepancy I see.
Choosing the transfer switch
Three things to confirm:
Amperage rating must match your service. A 200-amp service needs a 200-amp switch. Undersizing here is not an option.
Service-rated (SE-rated) or not. A service-rated switch can serve as the service disconnect, which often simplifies the installation. Non-service-rated switches install downstream of the main.
Neutral handling. Switched-neutral versus solid-neutral affects grounding and is determined by your service configuration. This is your electrician's call, not yours, but knowing the term helps you follow the conversation.
Full detail: what is a transfer switch.
Where the generator can legally go
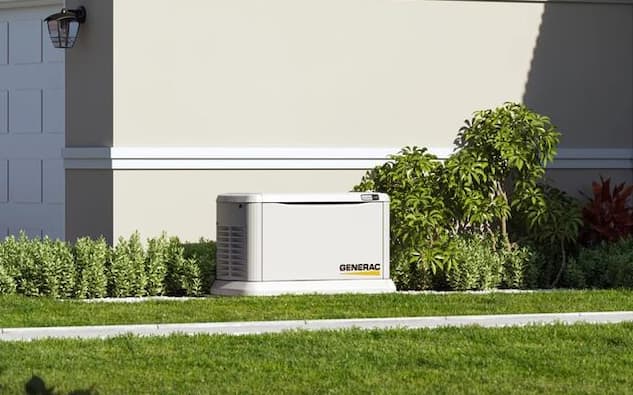
Placement is set by code and by the manufacturer's installation manual, not by preference. The constraints:
- Distance from the structure — typically 18 inches minimum, per NFPA 37 and the manual.
- Distance from openings — windows, doors, soffit and dryer vents, and any fresh-air intake. This is the carbon monoxide clearance and it's the one never to compromise.
- Clear airflow on the intake and exhaust sides.
- Service access — typically 36 inches at the front and service side.
- Distance from combustibles and, on propane installations, NFPA 58 setbacks for the tank.
- Property line setbacks and any HOA requirement.
- Above the flood elevation in flood-prone areas — see flood-prone placement.
And two practical constraints that cost real money: distance to the electrical panel and distance to the gas meter. Every foot is conduit, conductors and pipe.
What installation actually involves
On-site work is typically one to two days. The whole project, from signature to inspection sign-off, commonly runs four to twelve weeks — most of it waiting on permits and equipment.
1. Site assessment. A competent installer measures: your electrical service and panel condition, existing gas load and pipe capacity, distances, drainage, clearances, and where the unit can legally sit. They should also ask what you need running and do a load calculation. If they quote from the driveway without going inside, be wary.
2. Permits. Electrical and mechanical/gas at minimum, sometimes zoning or setback review. Your installer normally pulls these.
3. Foundation. A poured concrete pad or a composite base, level and appropriately drained. In flood zones, elevated.
4. Set the generator. Positioned, leveled, anchored per manufacturer instructions — and in high-wind regions, with engineered anchorage.
5. Gas connection. By a licensed gas fitter. This is where line upsizing happens if the existing pipe can't supply the generator plus your other appliances simultaneously.
6. Electrical. By a licensed electrician: transfer switch mounted at the panel, conductors and conduit from the generator, grounding and bonding per NEC, control wiring.
7. Inspection. The jurisdiction inspects electrical and gas work. Don't skip this, and don't accept an installer who suggests you should.
8. Commissioning. Below.
Permits, inspections and HOAs
Permits vary enormously — from $150 and a week to $800 and two months. Some jurisdictions add noise studies or setback variances; coastal and flood zones add elevation requirements.
Never allow an unpermitted installation. It creates a disclosure problem at sale, can void insurance coverage on a related claim, and means nobody independent verified the gas and electrical work on your house. It's also the thing I most often find when called to a system that doesn't work.
HOA review adds time. Most approve with screening conditions. Bring the manufacturer's sound rating and a site plan to the meeting — see multi-unit and HOA installations.
Full detail: permits and code requirements.
What it costs, line by line
Typical 2026 whole-home natural gas installation:
| Line item | Typical range |
|---|---|
| Generator (14–22 kW) | $3,500–$6,500 |
| Automatic transfer switch | $700–$1,800 |
| Electrical labor and materials | $1,800–$3,500 |
| Gas piping and connection | $800–$2,500 |
| Pad or composite base | $300–$900 |
| Permits and inspection | $150–$800 |
| Load management modules | $300–$800 |
| Typical installed total | $9,500–$15,000 |
The costs that surprise people: gas line upsizing ($800–$3,000), long runs and trenching ($500–$3,000), electrical service or panel upgrade ($1,500–$4,000), propane tank purchase ($1,000–$3,500), and site work in difficult terrain.
Full breakdown including fifteen-year ownership: the real cost of a whole-house generator.
How to compare three quotes
Get three. Require each to be itemized. Then line them up on these points:
| Compare | Why it matters |
|---|---|
| Generator make, model, and kW at your fuel | LP and NG ratings differ 5–10% |
| Transfer switch: amperage and service-rated or not | The biggest hidden difference between quotes |
| Whole-home or number of circuits | Determines what you actually get |
| Load management modules included | Often the difference between two generator sizes |
| Gas work scope — is upsizing included or excluded? | The most common change order |
| Trench and conduit length | Priced per foot; long runs are real money |
| Permits: included or your responsibility? | Both are legitimate; know which |
| Pad type | Concrete vs composite |
| Warranty — length, and does it include labor? | Parts-only warranties leave you paying for the visit |
| Who services it after? | The dealer's service capability outlives the sale |
If one quote is dramatically cheaper, find out what's missing. In my experience it's almost always the gas upsizing, the load management, the permits, or a load-center switch where the others quoted whole-home.
Eight questions to ask every installer
- Did you perform a load calculation, and can I see it? The single most revealing question. An installer who sized from square footage is guessing.
- What is this unit's output on my fuel, at my elevation? Tests whether they understand derating.
- Does my existing gas line have capacity, or does it need upsizing? If they haven't checked, they can't quote accurately.
- Is the transfer switch service-rated, and what amperage?
- Are load management modules included? What size could I drop to with them?
- Who pulls the permits, and what inspections are required here?
- What exactly does the warranty cover — parts, labor, travel? For how long?
- Who services this afterward, and what's your response time during a regional outage? After a hurricane, everyone calls at once. Ask how they prioritize.
More on evaluating dealers: how to choose a reliable generator dealer.
Commissioning: what should happen on day one
Don't let the crew leave until:
- The generator has started and transferred your house with you watching — a real test, not just a start.
- The exercise cycle is set to a day and time that suits you and your neighbors.
- Monitoring is configured and you've confirmed an alert arrives on your phone.
- You've been shown the controller: AUTO/OFF/MANUAL, how to read status, what a fault looks like.
- You know where the fuel shutoff and the electrical disconnect are.
- You have the manual, warranty paperwork, permit and inspection records, and the model and serial number.
- The first service interval is on your calendar.
That handoff is where a good installation becomes a system you can actually rely on. Then move on to maintenance and care, which is what determines whether it's still working in fifteen years.
Generators and transfer switchesAd
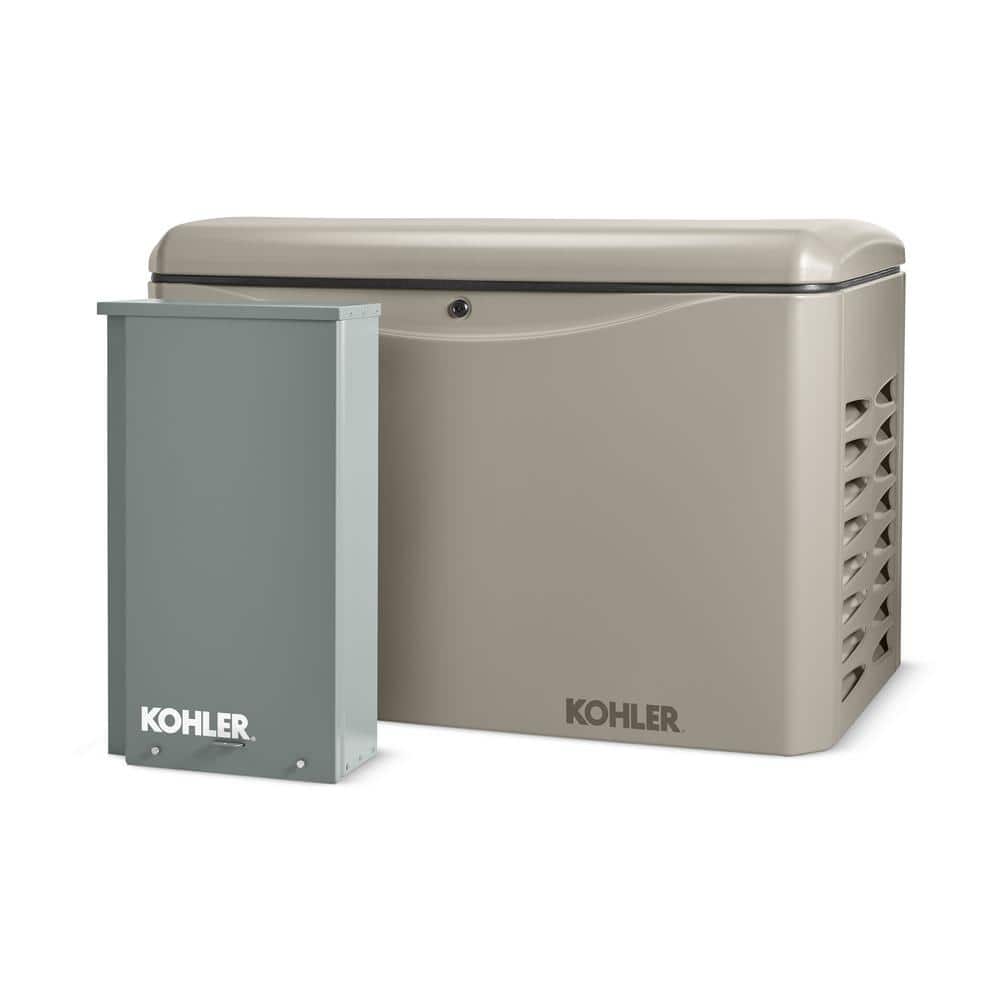
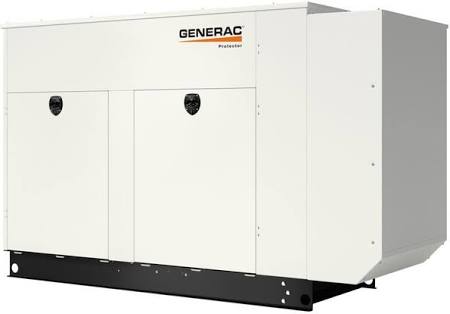
Common whole-home sizes, with 200A and 100A service-rated transfer switches.
Paid links · As an Amazon Associate, GenDealers earns from qualifying purchases.